
Documentation
Quick start — ZigBase
Install ZigBase, create a superuser, start the server, hit the health endpoint, and open the admin UI.
Get a ZigBase server running in a few minutes — either from a prebuilt binary or by building from source. This path uses the stock backend; to write custom Zig hooks, routes, and jobs, follow the framework tutorial. Both paths work with or without a coding agent.
Scaffold a project
npx zigbase init
This creates a Compose configuration, schema document, and project instructions. For a Zig framework project, use npx zigbase init --framework, then follow the framework setup to add the dependency and run its tests.
The commands below show how to run the server directly.
Build from source
You need Zig 0.16.0 (pinned in mise.toml). Either activate mise (eval "$(mise activate bash)") or prefix the build with mise exec zig@0.16.0 --.
mise install                                    # installs Zig 0.16.0 (pinned in mise.toml)
zig build                                        # -> zig-out/bin/zigbase
# or: mise exec zig@0.16.0 -- zig build
Download a binary
Prebuilt binaries for Linux (x86_64/aarch64, musl) and macOS are published with each release. Download the asset for your target, extract it, and you have the zigbase executable — no toolchain required. See the Download page for the asset table and checksums.
Create a superuser
Collection management is superuser-only, so create one before serving:
./zig-out/bin/zigbase superuser create \
  --email you@example.com \
  --password "<a strong password>" \
  --data-dir ./zb_data
Serve
Just start serving — on first run with no ZIGBASE_JWT_SECRET, a strong random secret is generated and persisted at <data-dir>/.jwt_secret (mode 0600), then reused on later runs:
# --insecure-cookies: local dev is over plain HTTP, and auth cookies are Secure by default.
./zig-out/bin/zigbase serve --insecure-cookies --data-dir ./zb_data
The default bind is 127.0.0.1:8090 (loopback only); expose all interfaces with --http-host 0.0.0.0 (front it with a firewall / reverse proxy).
Configure the bind host/port, data directory, token lifetimes, SMTP, rate limiting, and more via environment variables or
serveflags. The full table is in Configuration.
Verify it’s up
curl http://127.0.0.1:8090/api/health # {"status":"ok"}
Open the admin UI
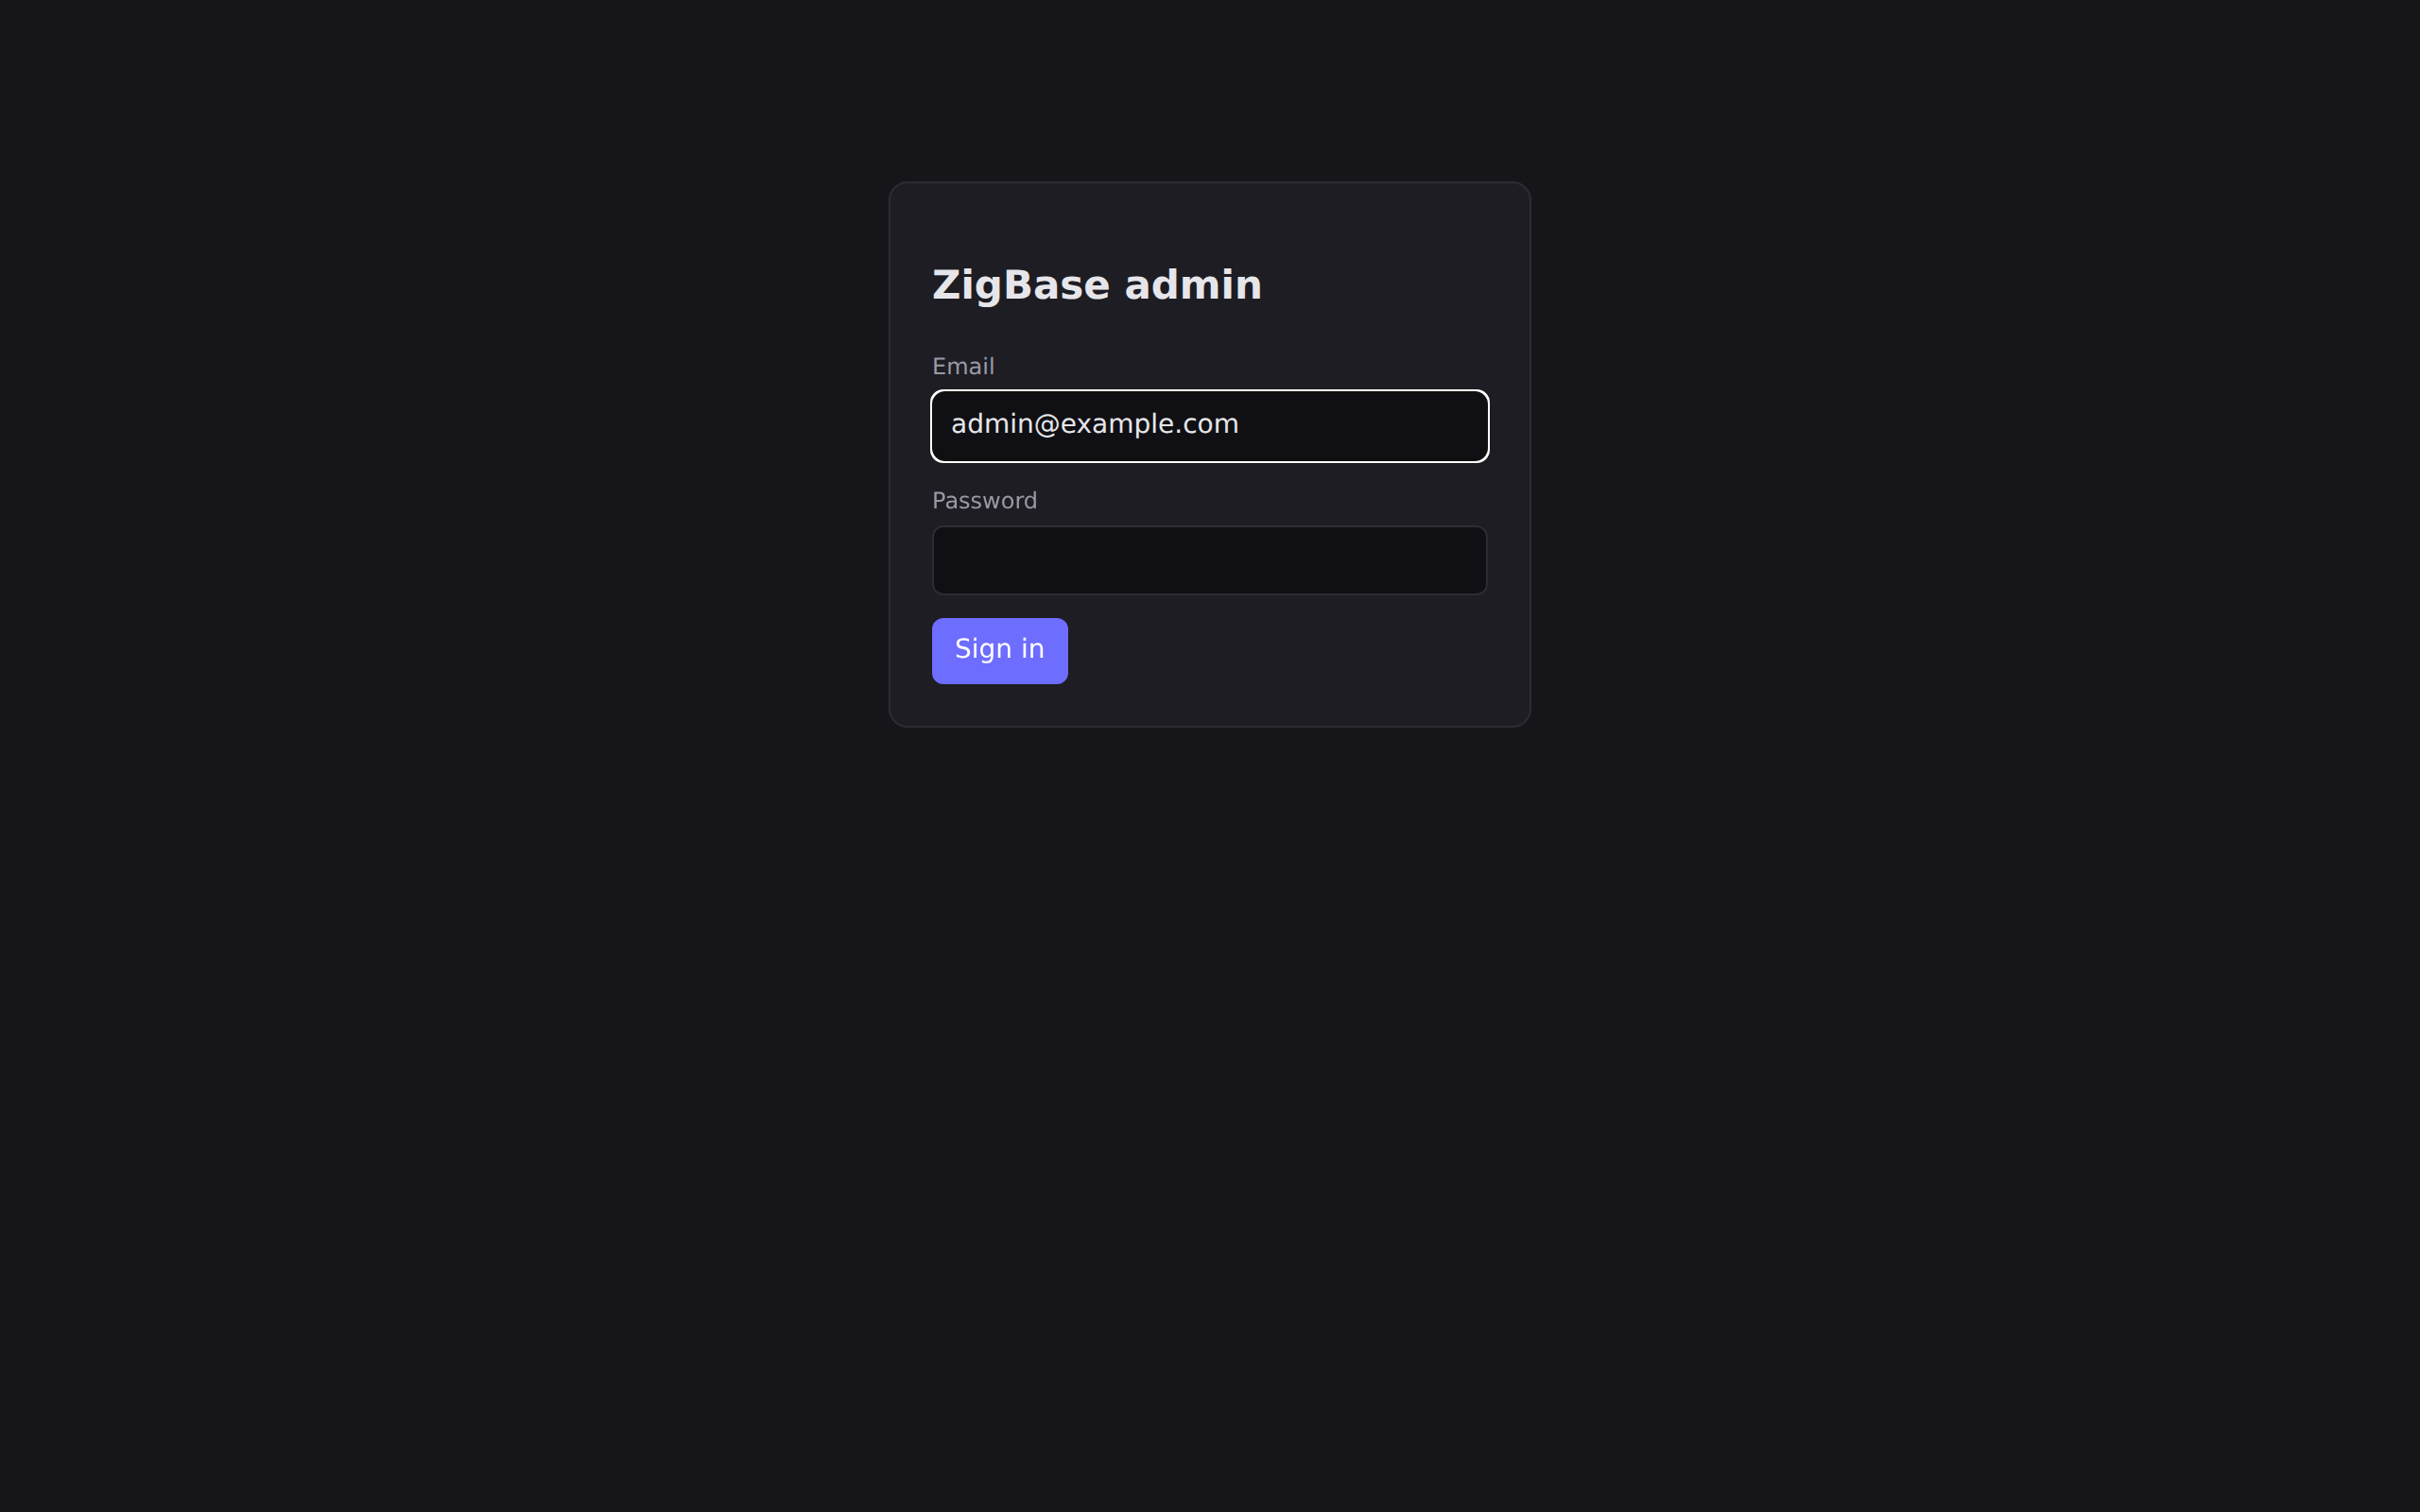
Open http://127.0.0.1:8090/_/ in a browser and sign in as the superuser you created. The embedded admin SPA lets you manage collections, edit records, view the schema, watch a realtime live-view, and configure OAuth2.
Everything the admin UI does is also a REST call away — the Tutorial shows every step both ways, from the admin UI and from the terminal.